In Node.js, the “environment” refers to the runtime environment of your application, which can have different configurations and variables depending on the context (e.g., development, testing, production). Environment variables are used to store configuration values, secrets, and other settings that can vary depending on the environment your application is running in.
In a NestJS application, managing environment variables and configurations is crucial for keeping your code flexible and secure. Let’s break down how to handle it in a NestJS application.
1. Using .env Files
NestJS uses environment variables through the .env file, which typically stores key-value pairs for various configuration settings. This file is usually located at the root of your project and contains variables like
					DATABASE_URL=postgres://user:password@localhost:5432/dbname
JWT_SECRET=mysecretkey
PORT=3000
NODE_ENV=development
These environment variables can be accessed in your code through process.env
2. Using @nestjs/config for Configuration Management
NestJS provides the @nestjs/config package, which is a wrapper around dotenv and allows easy management of environment variables and configurations in a structured way.
Step-by-Step Guide to Manage Environment Variables
Step 1: Install Necessary Packages
First, you need to install the @nestjs/config and dotenv packages. You can install them via npm:
npm install @nestjs/config dotenv
Step 2: Create a .env File
At the root of your NestJS project, create a .env file where you can store environment variables.
					# .env file example
PORT=3000
DATABASE_URL=postgres://user:password@localhost:5432/dbname
JWT_SECRET=mysecretkey
NODE_ENV=development
Step 3: Configure @nestjs/config in your AppModule
Next, configure the ConfigModule to read the .env file and make environment variables available throughout your application.
In your app.module.ts, import and configure the ConfigModule
					import { Module } from '@nestjs/common';
import { ConfigModule } from '@nestjs/config';
import { YourModule } from './your.module';

@Module({
  imports: [
    ConfigModule.forRoot({
      isGlobal: true,  // Makes the config accessible throughout the app
      envFilePath: '.env',  // Specifies the path to the .env file
    }),
    YourModule,
  ],
})
export class AppModule {}
The isGlobal: true option makes the configuration available globally in the entire application.
Step 4: Accessing Environment Variables in Services/Controllers
You can now inject the ConfigService into your services or controllers to access the environment variables.
For example, in a service:
					import { Injectable } from '@nestjs/common';
import { ConfigService } from '@nestjs/config';

@Injectable()
export class YourService {
  constructor(private configService: ConfigService) {}

  getPort(): string {
    return this.configService.get('PORT');  // Access environment variable
  }

  getDatabaseUrl(): string {
    return this.configService.get('DATABASE_URL');
  }
}
Here, this.configService.get('PORT') retrieves the PORT variable from the .env file.
					import { Module } from '@nestjs/common';
import { ConfigModule } from '@nestjs/config';
import { YourModule } from './your.module';

@Module({
  imports: [
    ConfigModule.forRoot({
      isGlobal: true,  // Makes the config accessible throughout the app
      envFilePath: '.env',  // Specifies the path to the .env file
    }),
    YourModule,
  ],
})
export class AppModule {}
Step 5: Use Environment Variables for Conditional Logic
You can also use environment variables to adjust your application’s behavior depending on the environment (e.g., development, production).
					import { Injectable } from '@nestjs/common';
import { ConfigService } from '@nestjs/config';

@Injectable()
export class YourService {
  constructor(private configService: ConfigService) {}

  getDatabaseConnection() {
    const dbUrl = this.configService.get('DATABASE_URL');
    if (this.configService.get('NODE_ENV') === 'production') {
      // production-specific logic
      console.log('Running in production mode');
    }
    return dbUrl;
  }
}
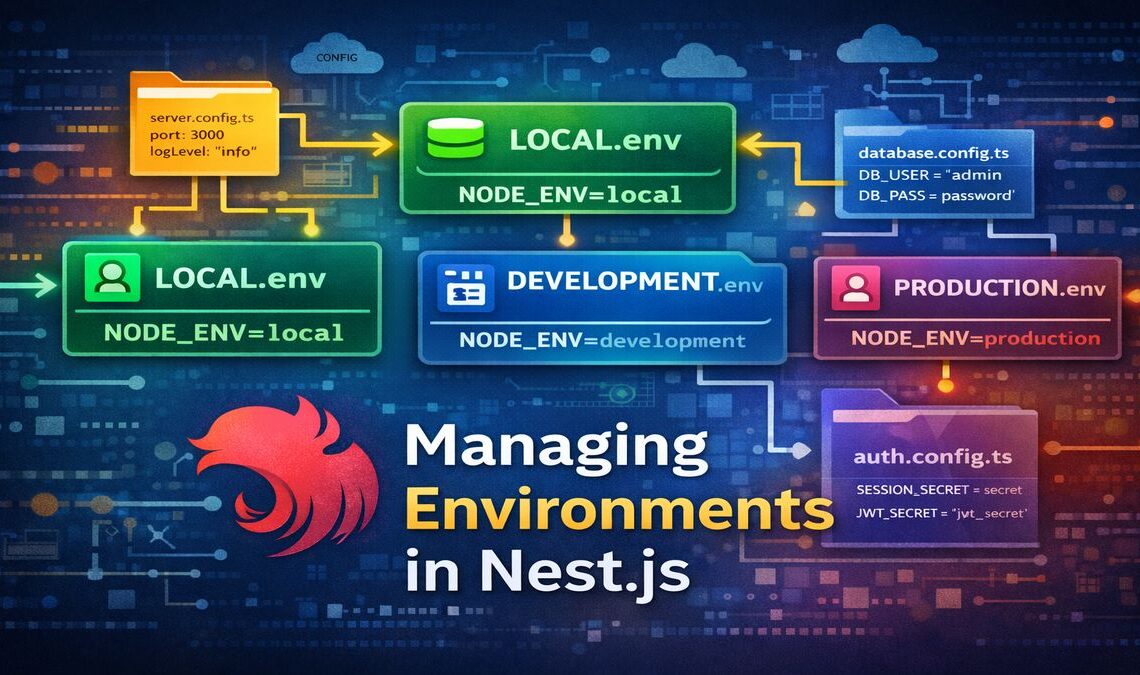
3. Managing Multiple Environments
You can have different .env files for different environments, such as .env.development, .env.production, etc.
To load the right file based on the environment, you can modify the ConfigModule setup as follows:
					ConfigModule.forRoot({
  envFilePath: `.env.${process.env.NODE_ENV}`,  // Dynamically load based on NODE_ENV
  isGlobal: true,
});
For example, when NODE_ENV is set to “production”, it will load the .env.production file.
4. Using Config Validation (Optional but Recommended)
To ensure that all the necessary environment variables are set correctly, you can validate them using Joi or any other validation library. You can create a validation schema for your configuration.
First, install @hapi/joi (Joi):
npm install @hapi/joi
Then, create a validation schema
					import { ConfigModule, ConfigService } from '@nestjs/config';
import * as Joi from '@hapi/joi';

ConfigModule.forRoot({
  validate: (config: Record) => {
    const schema = Joi.object({
      PORT: Joi.number().required(),
      DATABASE_URL: Joi.string().uri().required(),
      JWT_SECRET: Joi.string().required(),
      NODE_ENV: Joi.string().valid('development', 'production').required(),
    });

    const { error } = schema.validate(config);
    if (error) {
      throw new Error(`Configuration validation error: ${error.message}`);
    }
    return config;
  },
  isGlobal: true,
});
This will ensure that the required environment variables are set and validated when the application starts.
Summary of Key Concepts
- .env File: A file where you store environment variables.
- @nestjs/config: A NestJS package to manage configuration and environment variables.
- ConfigService: A service that allows you to retrieve environment variables in a structured way.
- Validation: Optional but important, using a library like Joi to ensure that all environment variables are set correctly.
By managing your environment variables this way, you can ensure that your application behaves differently based on the environment it is deployed in, and you can keep sensitive information like API keys and database credentials out of your codebase.